Monday, February 28, 2011

Gingerbread!

So the other day I was complimented on how up-to-date I am with my blog. So to disprove this I thought I should write this post, which is either 2 months or 1 year, 2 months late. Depending on how you look at it.

I thought I'd show you the gingerbread houses that I've made over the past two years.

First, the 2009 Gingerbread House

As you should do before you make any gingerbread house, I started by collecting a large amount of decorating candy.
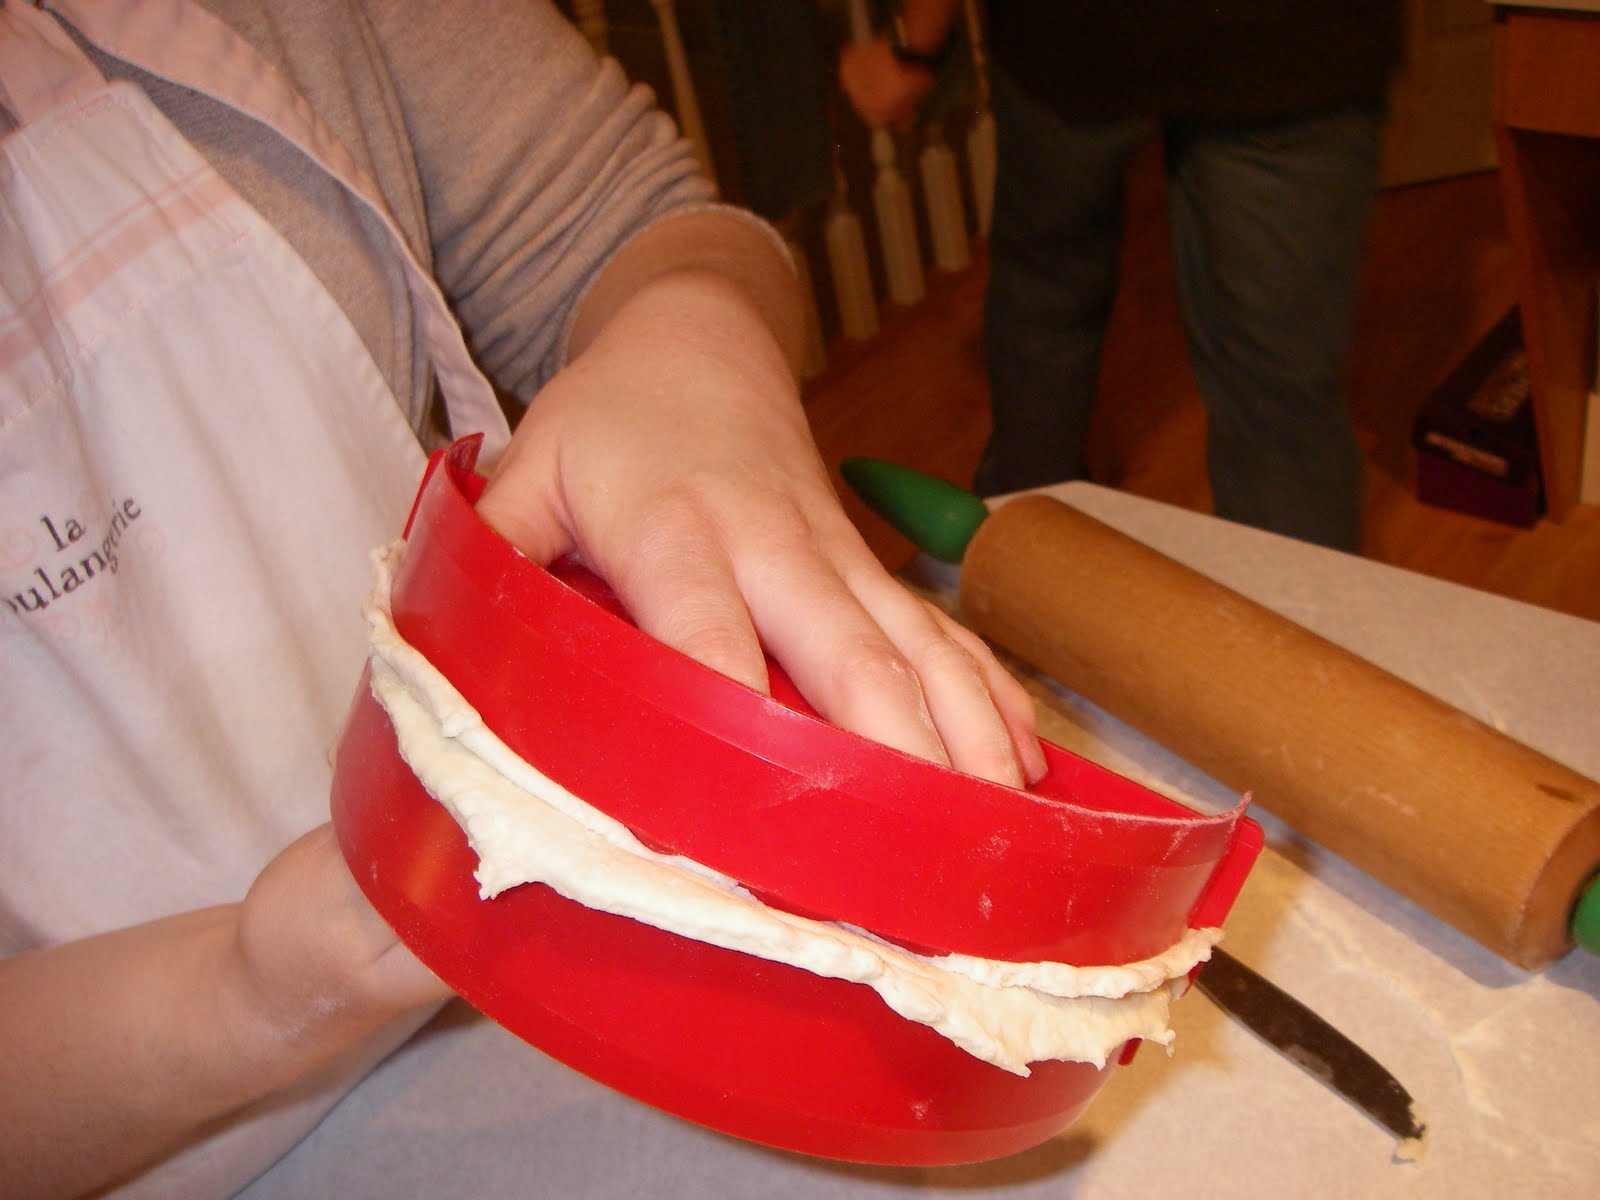
Then I put the house together. In the past we've used boiled sugar glue to stick the house together but that usually results in burnt fingers and burnt-sugar covered gingerbread that no one wants to eat.
So instead I found a recipe for a cement-like royal icing. Which worked a lot better, and was much tastier.

Next you decorate it...
Don't forget the Christmas Hippo in the garden.

The hardest part of this whole project was the candy-cane fence. It was really, really hard to find enough candy canes that were still in one piece to use. And then you still had to make them stand up. It was tricky, but it looked really neat.
The finished product. Our family Gingerbread House for Christmas 2009.

Then, this past year, for Christmas of 2010, my younger cousins were in town for a pre-Christmas visit so I thought that it would be fun for all of us to make gingerbread houses. We made two of them, one for them to take home and one to stay at our house.

This is the house my cousins made, it was fairly traditional, and covered in tasty, tasty candy.
They did some really cute stuff with it, like a skating rink.
And a little man in overalls with his snowman.
A reindeer on the roof...

And Penguins on the back wall!
The finished product!
Apparently the Gingerbread house survived the 8 hour drive home (except for the roof corner that I accidentally broke while trying to put in a box to go home) but most of the candy did not!

I decided to do something a little different this year and so, instead of a traditional gingerbread
house I constructed a gingerbread barn!
There's a pond with a frog...
A pen with some animals and a silo. I wanted to make the silo completely purple-y blue, like the one the farm where I spent parts of my summers while I was in high school.

There is also a farmer in the front yard.
I put the hayloft on the wrong part of the barn. But its still cute.

I found all the patterns online and a whole bunch more that I want to try. Next year I'm going to be very tempted to make an entire gingerbread town!

So, now, what you probably are looking for, the recipe for my Gingerbread! Now, there is a story behind this recipe: when I was in elementary school, every Christmas time students from the 5th grade class would come around and sell raffle tickets. At the assembly before Christmas break there would always be a draw for trees, people, a big house and a little house. I would always buy tickets, and I never won a thing. However, when I was in Grade 5 myself, the whole class got to help make the gingerbread, and my mom helped out too. And she had the thought, to ask for the recipe! So now, I every Christmas I can buy the gingerbread that I could never manage to win!

Group 1:
1 cup margarine, butter or shortening, softened
1 cup sugar
1 egg
1 cup molasses
2 tbsp vinegar

Group 2:
5 cups flour
1 1/2 baking soda
1/2 tsp salt
2-3 tsp ginger
1 tsp cinnamon

Preheat oven to 375. Mix group 1 together. Mix group 2 together. Add group 2 slowly to group 1 until well mixed. Form into a ball, or several smaller balls and chill for an hour or more. Roll out the dough and cut into the shapes you need. Bake for 10-15 minutes.

Usually, I make one batch and it is enough for the house that I am making plus a few extra animals, people, or Santa and some reindeer!

I had a hard time finding a royal icing recipe that didn't call for egg whites, because I'm a little nervous about eating egg whites that have been sitting out for several days. I eventually found this recipe which calls for meringue powder. Meringue powder is an egg white substitute that's a little pricey but great for when you don't want to eat raw egg whites.

3 tbsp meringue powder
4 cups icing sugar
6 tbsp cold water

Beat all ingredients together for 7-10 minutes until stiff peaks form. Keep the icing covered in a damp cloth while you are working with it, otherwise it will stiffen up and will be useless.

Sunday, February 27, 2011

Jedi Mickey Cake

I made this cake yesterday for one of my good friends who loves both Star Wars and Disney.
Its Mickey Mouse as a Jedi!
With lightsabers around the edges of the cake.

Monday, February 21, 2011

Eclairs II

I made Eclairs again. And they were pretty much equally amazing as they were the first time. For the recipe and the story behind the first time I made them, the post is here.


Don't the look super duper tasty?That would be because they are!

Anyway, something I learned from the two times that I made them. The recipe that I have makes way too much filling. Unfortunately, it is a little hard to halve a packet of pudding mix. So I would suggest making two batches of the pastry and doubling the chocolate topping recipe. Also, try to put the chocolate on as fast as possible because the topping solidifies fairly quickly.

Sunday, February 20, 2011

'Death By Chocolate' Mousse


I made this for Valentine's Day this year. I really wanted to put it in a Heart Shaped Springform pan, but unfortunately, I didn't buy the one I saw and when I went back to the store to buy it, it was gone. And I couldn't find any more.

Death By Chocolate Mousse

21 Oreos
1/4 cup softened butter

1 cup whipping cream
1 pkg (12 oz/350g) semi-sweet chocolate chips
1 tsp vanilla
Pinch of salt
2 cups whipping cream, chilled
1/4 cup sugar

1 cup whipping cream, chilled
1/4 cup sugar

Preheat oven to 350. Grease a 9 inch springform pan. Using a food processor crush the Oreos. Then mix in the butter and blend. Press this into the bottom of the pan. Bake for about 5 minutes. Allow to cool.

Put the chocolate chips, vanilla and salt in the food processor. Bring 1 cup of whipping cream to a boil on the stove. With the food processor running pour the boiling cream slowly into the chocolate mixture. Process until no lumps of chocolate chips remain. Pour into bowl and allow to cool to room temperature.

Add 1/4 cup sugar to 2 cups chilled whipped cream in a metal or ceramic bowl, preferably pre-chilled as well. Beat with an electric mixer until stiff peaks form. Fold into chocolate mixture. Pour into crust. Chill for at least 6 hours.

Just before serving, beat the remaining 1 cup of cream with 1/4 cup of sugar until stiff peaks form. Pipe or spoon onto the top of the mousse.

As you can see in the picture, I didn't do the last step. My family decided that there was already enough whipping cream involved already. Also, I apologize for not having a better picture. But this was a really, really tasty dark chocolate whipping cream dessert.

Saturday, February 19, 2011

Black Forest Cookies

Black Forest Cookies

1 cup margarine
1 box chocolate instant pudding mix
1 egg
2 cups flour

1/4 cup white sugar

approx 66 maraschino cherries

1/2 cup chocolate chips
3 tbsp margarine

Preheat oven to 325 F. Beat softened margarine and pudding powder together. Add egg and beat well. Add flour slowly, beating between additions. Beat until no dry flour remains. Roll into 1 inch balls. Roll each ball in a sugar. Place each on a cookie sheet and dent. Bake for 5 minutes, remove from oven and press the dent in again. Bake
for another 10 minutes. When they have cooled slightly put a cherry in the center of each dent. Heat chocolate chips with margarine, until melted. I like to do this in the microwave. Drizzle melted chocolate on the top of each cookie. If you want to do this to look really fancy, put the chocolate in a icing piping bag with a small circular tip attached.

Calzones!

I love pizza. I even quite enjoy pizza pops even with all the chemicals. And when I found a mold that could be used to make home-made pizza pops I was thrilled!

So this was another Williams-Sonoma find, its a Calzone Maker!
Start with your favourite pizza dough recipe. My family quite likes this one that came with our bread machine.

1 cup water (warm if your machine doesn't have a pre-warming cycle)
1 tbsp butter
1 tbsp sugar
1 tsp salt
2 3/4 cups flour
1 1/4 tsp yeast

Put all the ingredients in the bread machine in the order they are listed in. Set to 'Dough' setting. Press start.

When your recipe is done use the calzone maker as a guide to cut a circle of dough about 1/2 inch wider around that the base of the mold.

Place the circle of dough in the mold and add 1/3-1/2 of a cup of your favourite pizza filling. Cheese, sausage, pepperoni, bacon, vegetables, whatever you like! Don't forget to mix in the sauce.


Then, very carefully close the two sides of the mold together. Press hard to seal.


Remove the calzone, brush the top with melted butter or oil. Sprinkle with parmesean cheese. Fresh grated or the shaky stuff from the can.

Bake at 500 F for 10-12 minutes. Its helpful to label who's Calzones are whose if you are making them for multiple people.
Enjoy your tasty tasty homemade calzone! You could even probably make a few extras and freeze them for later, if they don't get eaten.

Friday, February 4, 2011

Mini Cheesecakes!

I love cheesecake! They are fairly tricky to bake because they tend to crack, they are very rich and not something you make on a regular basis. But a few months ago I discovered this recipe for mini cheesecakes and I was really excited to try it out.

Cheesecake

Its super simple, so long as you can count to 2. :)

2 bricks of cream cheese (softened)
2/3 cup white sugar
2 eggs
2 tsp vanilla

Crust
This is my new favourite cheesecake crust recipe, courtesy of Bakerella.

3/4 cup Biscoff* cookie crumbs (or regular graham cracker crumbs)
3 tbsp melted butter

Topping
Your favourite fruit
Your favourite corresponding jam or syrup

* Biscoff cookies make an AMAZING cheesecake crust. But they are a little hard to find in Canada, although I've discovered that London Drugs stocks them but I haven't found anywhere else that does. If you can't find them, just use graham cracker crumbs or chocolate cookie crumbs, or whichever kind of cookie crumbs you like.

Prep: Preheat oven to 350 degrees. Line prepare about 18 muffin cups.
Crust: Take your cookies and put them in a food processor. Run until the cookies have become fine cookie crumbs. Add melted butter. Stir until all the cookie crumbs are well coated. Press crumb mixture into bottom of muffin cups.
Cheesecake: Beat cream cheese on its own until it looks whipped. Add sugar, beat some more. Add eggs and vanilla beat, until smooth. Spoon batter into muffin cups until each cup is almost full. Bake for about 15-20 minutes.
Topping: When cheesecake has cooled microwave the jam just a little so that it is just a little more liquid-y. Then top each cheesecake with fruit and spoon jam over top.

I love, love, love this recipe. It makes the perfect size of cheesecakes for a dessert. Also, it looks really elegant, and if you serve them at a party or something people will think you spent a lot of time on them. :) In fact, they are so elegant, that a few weeks after I tried the recipe for the first time, I ended up making over 100 of them for a semi-formal Christmas banquet.Unfortunately, I was a little busy helping run the banquet, so I didn't manage to get a really good picture of all of the mini-cheesecakes. But it was pretty crazy. Also, note the cute little Christmas-y muffin cups, I really loved those.

One of the other reasons I love this recipe so much is because its so flexible. You can experiment with toppings (for the banquet, one of the toppings was pecans and caramel sauce, those ones disappeared pretty fast) or with crusts (like chocolate crumbs!) or you could even try playing with the filling, such as adding chocolate or raspberry sauce.